Getting the tyre pressure just right on your best mountain bike can be tricky. There are many factors to consider before you hit the trails, from the conditions of the path to your weight. It’s an area where science meets a bit of trial and error.
The right tyre pressure for mountain bike can make a world of difference, from improving traction and handling to enhancing comfort and preventing flat tyres. Whether you’re a seasoned rider or a beginner, understanding how to optimize your tyre pressure can elevate your riding experience.
In this comprehensive guide, we’ll explore all you need to know about mountain bike tyre pressure, factors influencing it, and how to find the perfect balance for your needs.
Table of Contents
Why Tyre Pressure Matters in Mountain Biking
Tyre pressure plays a crucial role in your bike’s performance. It’s not just about inflating the tyre to a certain number on the pressure gauge; it’s about optimizing the tyre pressure to suit your bike, riding style, weight, and the terrain you’re riding on.

When your tyre pressure is too high, you lose grip, and the ride becomes harsher and bumpier, especially over rough terrain. Conversely, if your pressure is too low, you risk damaging your tyres, increasing rolling resistance, and making it harder to pedal efficiently. The sweet spot for your tyre pressure will help you maintain control, comfort, and speed while riding.
- Traction: Low tyre pressure increases the contact patch with the ground, giving you more grip.
- Speed: Higher pressure minimizes rolling resistance, helping you maintain speed.
- Comfort: Properly adjusted pressure acts as suspension, absorbing shocks and making the ride smoother.
- Puncture Protection: High enough pressure can prevent pinch flats, while low pressure helps prevent punctures from sharp objects.
- Control: Maintaining control over your bike on technical terrain is easier when tyre pressure is optimized for the trail.
Factors that Influence the Ideal Tyre Pressure for mountain bike
Several factors contribute to finding the optimal tyre pressure for your mountain bike. Understanding these will help you fine-tune your tyres to match your specific needs.
Rider Weight
The heavier the rider, the higher the tyre pressure required to support the additional weight. A lighter rider may need lower pressure to achieve the same level of performance. For example, a 160-pound rider might run 28 psi in the rear tyre, while a 200-pound rider might need closer to 32 psi to prevent bottoming out on rough terrain.
Terrain
The type of terrain you’re riding on has a significant impact on tyre pressure. Smooth, hardpacked trails allow for higher pressures because you won’t need as much traction. On the other hand, loose, muddy, or rocky trails may require lower pressures to enhance grip and prevent skidding.
Weather Conditions
Weather and temperature can also affect tyre pressure. Colder temperatures can cause tyre pressure to drop, while warmer temperatures can increase it. You may need to adjust your pressure slightly depending on the weather conditions.
Tyre and Rim Width
Wider tyres generally require lower pressures to optimize performance, as the larger surface area allows for better distribution of pressure. Similarly, the width of the rim can influence the pressure, with wider rims often allowing for lower pressures without compromising performance.
By taking these factors into account, you can dial in your tyre pressure for the perfect balance of performance, control, and comfort on every ride.

Tubeless vs. Tubed Tyres: What’s the Ideal Pressure?
One of the first questions many riders ask when adjusting tyre pressure is whether they should approach tubeless and tubed tyres differently. The answer is yes!
Tubeless Tyres
Tubeless tyres are becoming increasingly popular for mountain biking because they allow you to run lower pressures without risking pinch flats. With a tubeless setup, you can typically run pressures that are 3-5 psi lower than you would with a traditional tube setup. This lower pressure improves traction and comfort, especially on rough or technical trails. However, too low of a pressure can still result in tyre burping (when air escapes around the tyre bead), so it’s important to find the sweet spot.
Tubed Tyres
For tubed tyres, you’ll need to maintain slightly higher pressures to avoid pinch flats, which occur when the inner tube gets pinched between the tyre and rim, causing a puncture. Higher pressures also reduce the risk of the tyre being pushed off the rim. While tubed tyres offer simplicity, many mountain bikers have transitioned to tubeless for the performance benefits.
Whether you’re running tubeless or tubed tyres, experimenting with your pressure to match your riding style and terrain is key to finding the best setup.
Mountain Bike Tyre Pressure for Different Riding Styles
Different riding styles demand different approaches to tyre pressure. Here are some recommendations for common mountain biking styles:

1. Cross-Country (XC)
Cross-country riders prioritize speed and efficiency. For XC riding, slightly higher pressures are preferred, as they reduce rolling resistance and help you maintain speed on smoother trails. However, pressures shouldn’t be too high as that would compromise traction on uneven terrain.
- Suggested Range: 25-30 psi for a 29″ tyre, depending on rider weight.
2. Downhill
Downhill mountain biking involves fast descents over rough terrain, so tyre pressures need to strike a balance between traction and puncture protection. Lower pressures provide better grip on technical sections but should be high enough to avoid pinch flats.
- Suggested Range: 22-27 psi, with the rear tyre usually running slightly higher to handle impacts.
3. Trail/Enduro
For trail or enduro riders, tyre pressure should be adjusted for a mix of speed, traction, and comfort. Lower pressures can improve grip on technical trails, but too low and you’ll risk damaging the tyre or rim.
- Suggested Range: 23-28 psi, depending on terrain and rider weight.
Tyre Pressure Guide for 29” and 27.5” Mountain Bikes
The size of your wheels impacts the tyre pressure you should run. Larger wheels, like 29”, often require slightly lower pressures to maintain traction and control. The larger contact patch helps distribute pressure more evenly, allowing for a smoother ride. In contrast, 27.5” tyres may need slightly higher pressures for similar performance.
For 29” Tyres:
- Recommended Pressure: 23-28 psi for most riders.
- Benefits: Increased traction and a smoother ride on rough terrain.
For 27.5” Tyres:
- Recommended Pressure: 25-30 psi for most riders.
- Benefits: Faster acceleration and better maneuverability.
How to Adjust Tyre Pressure Based on Terrain
The terrain you ride on directly affects the ideal tyre pressure. Here’s how to adjust for different conditions:
Mud
Lower your tyre pressure in muddy conditions to increase traction. The added surface area helps prevent slipping and improves control.
- Recommended Pressure: 18-23 psi.
Loose Gravel
Loose or sandy trails require moderate pressures. Too low and your tyres will sink; too high and you’ll lose traction.
- Recommended Pressure: 23-28 psi.
Rocky Terrain
On rocky or technical terrain, higher pressures help protect your tyres from punctures. You’ll need enough pressure to prevent pinch flats while still maintaining some grip.
- Recommended Pressure: 25-30 psi.
Tyre Pressure for Heavy Riders
Heavier riders naturally exert more force on their tyres, so they typically require higher pressures to maintain performance and prevent pinch flats. If you’re on the heavier side, start by adding 3-5 psi to the recommended pressures for your riding style and adjust from there.
- Suggested Range for Heavy Riders: 30-35 psi.
Riders should always prioritize comfort, so feel free to experiment within this range until you find what works best for your weight and riding conditions.
Finding the Perfect Tyre Pressure: A Step-by-Step Guide
Achieving the perfect tyre pressure takes a bit of experimentation. Here’s a step-by-step process to help you dial it in:
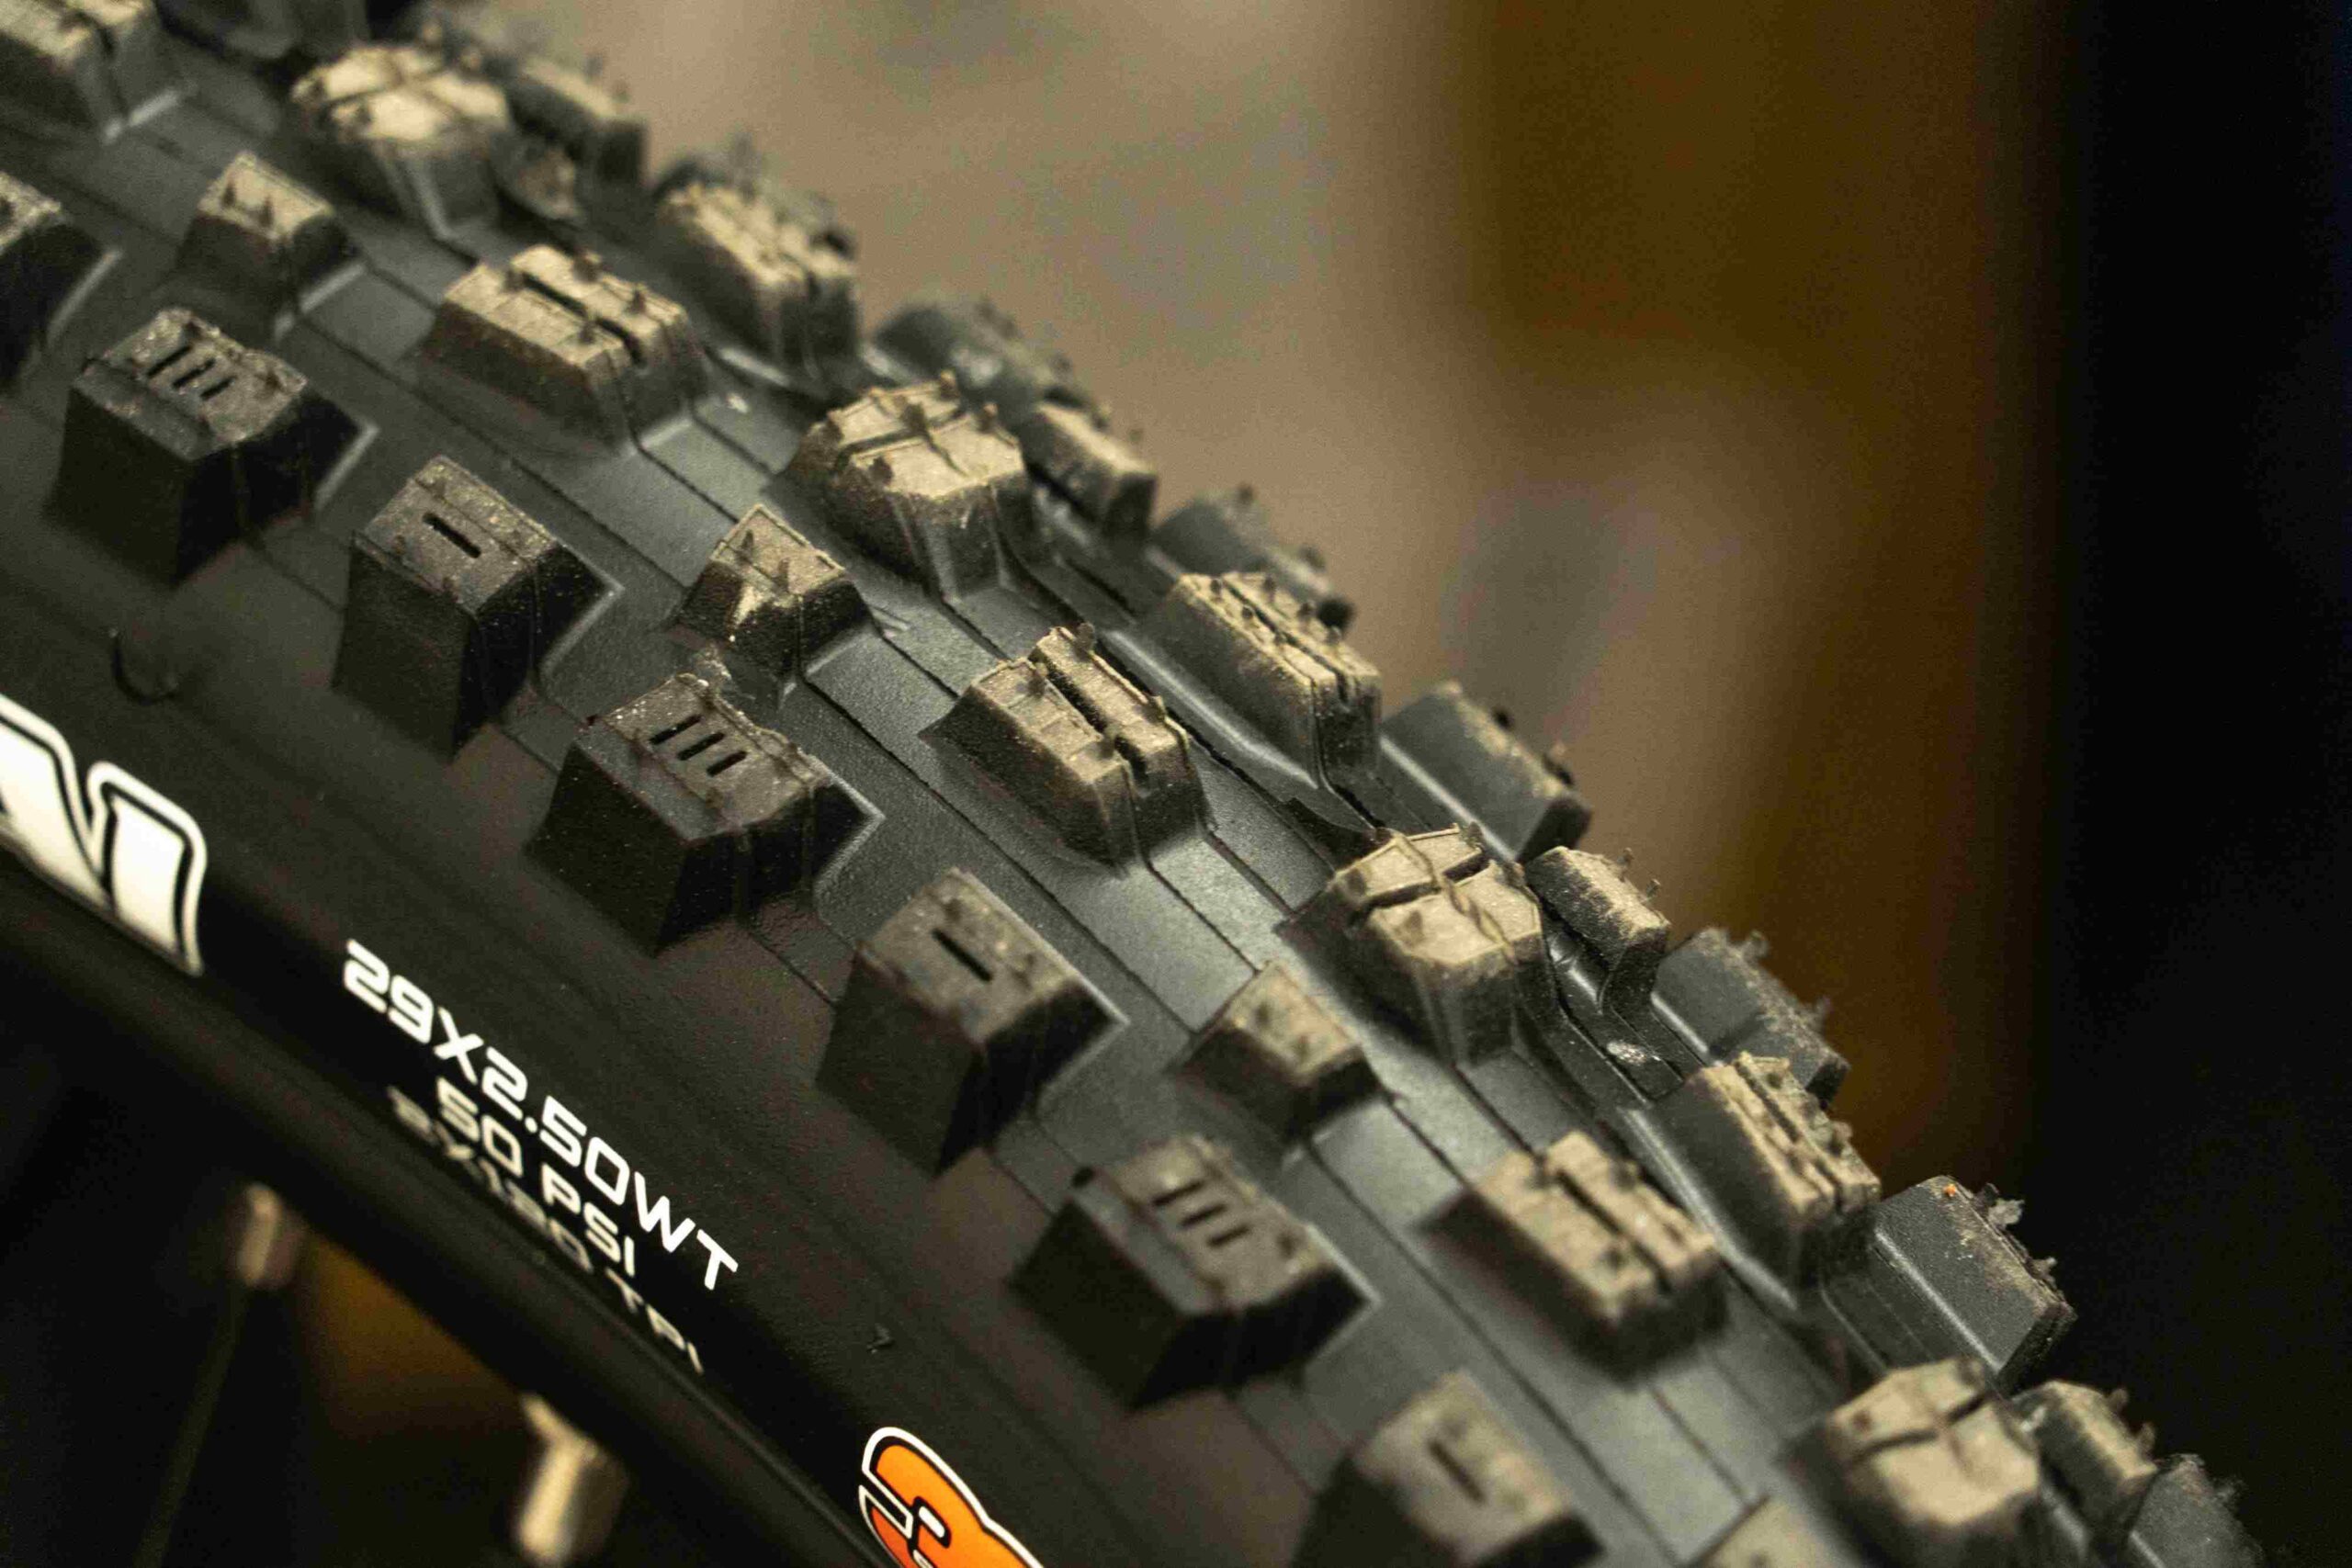
- Start with Manufacturer Recommendations: Look at the sidewall of your tyres for the manufacturer’s suggested pressure range.
- Adjust for Rider Weight: Heavier riders should add 3-5 psi above the recommended pressure, while lighter riders can subtract the same amount.
- Test on Your Typical Trail: Ride a familiar trail and take note of how your tyres feel. Are you sliding out in corners or feeling too much vibration? Adjust accordingly.
- Lower or Increase by 2 psi at a Time: Small adjustments can make a big difference. Lower your pressure by 2 psi if you want more traction or comfort; increase it by 2 psi if you’re looking for more speed or control.
- Check Pressure Regularly: Tyre pressure can fluctuate with temperature and altitude, so check it before each ride to ensure it’s within your optimal range.
How to Measure and Check Tyre Pressure
Keeping an eye on your tyre pressure is critical for maintaining performance. Here’s how to do it:
Use a Reliable Pressure Gauge
Invest in a quality gauge to measure your tyre pressure accurately. Some bike pumps come with built-in gauges, but a dedicated gauge can give more precise readings.
Check Before Every Ride
Tyre pressure can change due to weather conditions or simply from sitting over time. Make a habit of checking your tyre pressure before every ride to ensure it’s within your desired range.
Tyre Pressure for Electric Mountain Bikes
Electric mountain bikes (e-MTBs) are heavier due to their motor and battery, which means they require higher tyre pressures than standard bikes. This extra weight puts more strain on the tyres, so running higher pressures will help prevent punctures and provide better control.
- Suggested Range for e-MTBs: 28-35 psi.
Make sure to adjust pressure according to the terrain and your riding style, just like with a non-electric bike.
Common Questions About Mountain Bike Tyre Pressure
Many riders have questions about their tyre pressure, especially when they’re new to mountain biking. Here are some common ones:
Should the front tyre have lower pressure than the rear?
Yes, it’s common to run slightly lower pressure in the front tyre. The front tyre is responsible for grip and handling, while the rear supports more of the rider’s weight. Lowering the front by 1-3 psi can improve traction and control.
Is it okay to use the pressure recommendation on the sidewall?
The pressure range listed on your tyre’s sidewall is a general recommendation. You should adjust within this range based on your riding conditions, weight, and style.
What happens if tyre pressure is too low or too high?
If your tyre pressure is too low, you risk pinch flats, increased rolling resistance, and sluggish handling. Too high, and you’ll lose traction, experience a harsh ride, and increase the likelihood of a puncture on rough terrain.
The Path to Perfect Tyre Pressure: Trial, Test, and Ride
The ideal tyre pressure is not a fixed number. It depends on multiple factors, including your weight, riding style, and the trails you’re riding. While recommendations can help you get started, the best way to find your perfect tyre pressure is to experiment and make adjustments based on your riding experiences. Keep an open mind, make small changes, and enjoy the improved performance, comfort, and control that comes with getting your tyre pressure just right.
With the right pressure, every ride becomes smoother, safer, and more fun. So go ahead, pump up (or deflate) those tyres and hit the trails with confidence!
